# FogBugz
## Prerequisites
### User privileges
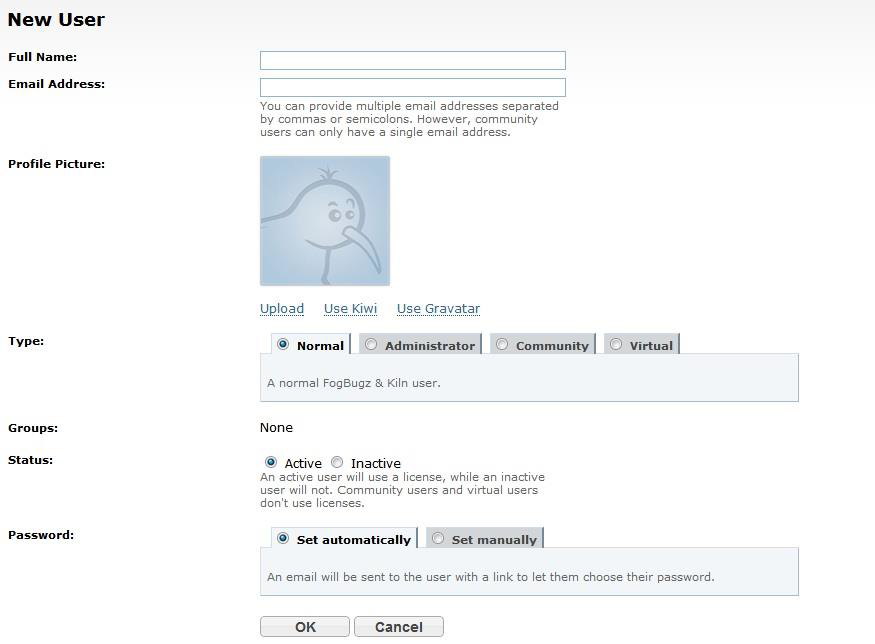
* Create one user of FogBugz of type 'Normal' and set User Time Zone, dedicated to space.vars.SITENAME. User should do any operations from FogBugz's user interface.
* For adding user and setting time zone in FogBugz, refer [Add User](#add-user) section in appendix.
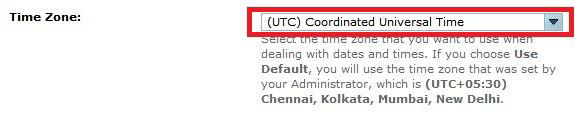
* Ensure the user's time zone is set to UTC (also known as Coordinated Universal Time). Refer [Set User Time Zone](#set-user-time-zone) for details.
* If you are not using SAAS instance of FogBugz, you might need to import SSL certificate to the server. To know how to import certificate, refer [Import HTTPS Certificate To Server](https://docs.opshub.com/v7.215/getting-started/installation/ssl-certificate-configuration) page.
## System Configuration
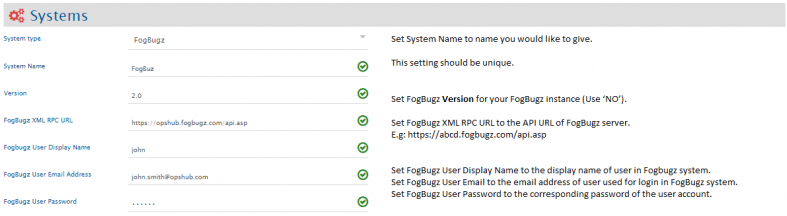
Before you continue to the integration, you must first configure FogBugz. Click [System Configuration](https://docs.opshub.com/v7.215/integrate/configure-integrations/system-configuration) to learn the step-by-step process to configure a system.\
Refer the screenshot given below for reference.
For checking version and api\_key, refer [How to get API URL and Version?](#how-to-get-api-url-and-version) section in appendix.
If the system is deployed on HTTPS and a self-signed certificate is used, then you will have to import the SSL Certificate to be able to access the system from space.vars.SITENAME. Click [Import SSL Certificates](https://docs.opshub.com/v7.215/getting-started/installation/ssl-certificate-configuration) to learn how to import SSL certificate.
## Mapping Configuration
Map the fields between FogBugz and the other system to be integrated to ensure that the data between both the systems synchronizes correctly.\
Click [Mapping Configuration](https://docs.opshub.com/v7.215/integrate/configure-integrations/mapping-configuration) to learn the step-by-step process to configure mapping between the systems.
### Integration Configuration
In this step, set a time to synchronize data between FogBugz and the other system to be integrated. Also, define parameters and conditions, if any, for integration.\
Click [Integration Configuration](https://docs.opshub.com/v7.215/integrate/configure-integrations/integration-configuration) to learn the step-by-step process to configure integration between two systems.
### Criteria Configuration
**For System Fields**:
* Refer and navigate to 'Axes for searching cases'. Now, find the name of the field on which you want to configure the criteria.
* Put the name of the field, then put a colon (:) and the value of that field, for example `Status:Active`.
**For Custom Fields**:
* Refer and navigate to 'Searching Custom Fields'.
* For Custom Field and CustomValue, query should start with the custom field's name followed by a colon and the custom value, for example `CustomxField: "CustomValue"`.
Click [Create Custom Fields](#create-custom-fields) to learn how to create custom fields.
## Appendix
### Add user
* Login to FogBugz server.
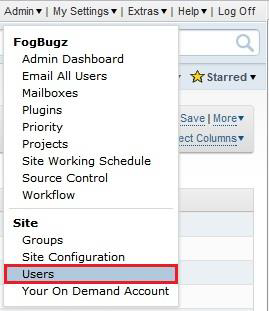
* Click on **Admin** on the right top corner and select **Users**.
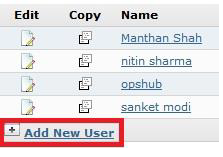
* Click on **Add New User Account**.
* Click on **Add New User Account.**
### Set User Time Zone
* Log into **FogBugz** server.
* Click **Admin** tab on the top-right corner and select **Users**.
* Select the user from the user list. Click **Edit**.
* Set Time Zone to: **(UTC) Coordinated Universal Time**.
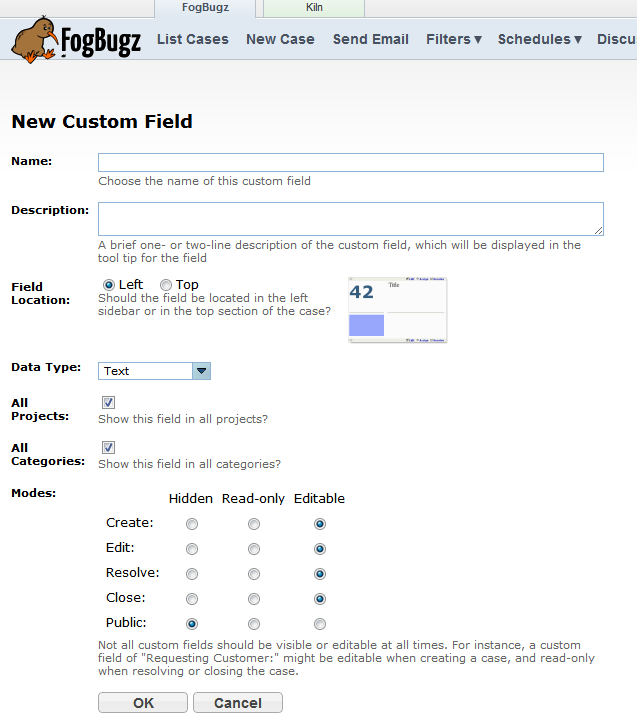
### Create Custom Fields
* Login to FogBugz server.
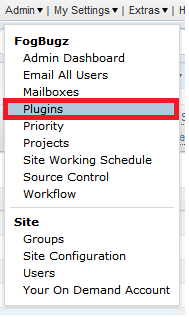
* Click on **Admin** menu.
* Select **Plugins** from menu.
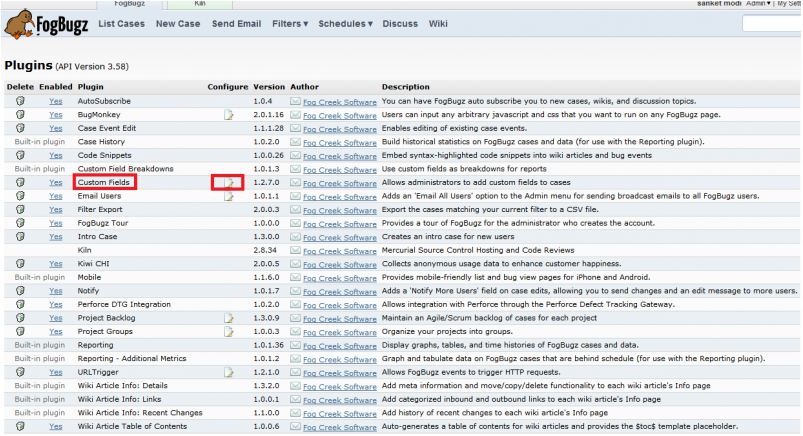
* Check if Custom Fields is enabled, if it is enabled, click on 'edit' symbol.
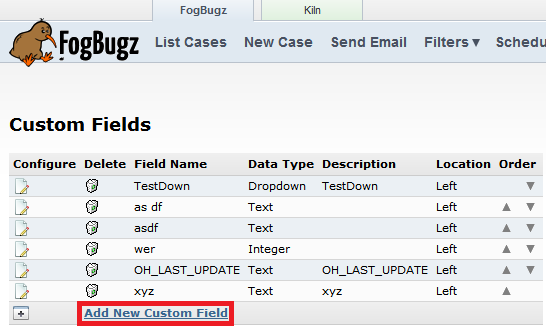
* Click **Add New Custom Field**.
### How to get API URL and Version?
Go to and see **Checking the API version and location**.