# Scheduler
All the users in space.vars.SITENAME, who have a 'Professional' or 'Ultimate' license , will have access to 'Job Schedules' \[which are associated with the integrations].
## Create Schedules
To create a new schedule, follow the steps given below:
* Click on **"Administration"**
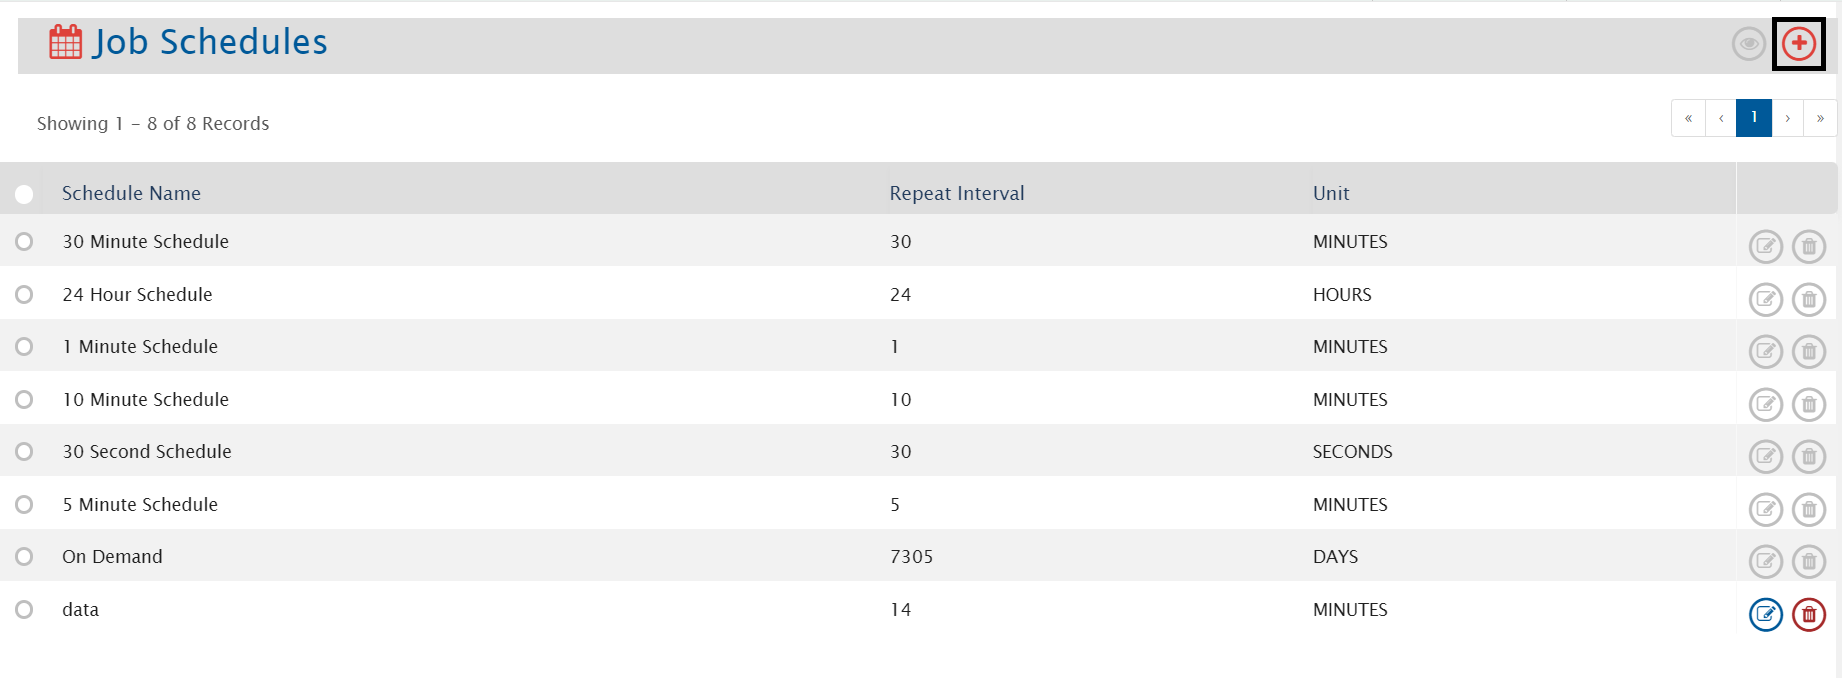
* Click on  given on the left panel. You can see the list of schedules that are already created
* To create a new schedule, click on  given on the top right corner of the screen
* The Create Schedule screen will open. Fill the following details:
* **Schedule Name**: Give the name of the schedule which you will create.
* **Schedule Type**: Select the type of schedule which you want to create:
* **Fix Schedule**: Integration will check for updates in end system at specified schedule.
* **Interval Repetition**: Integration will check for the updates in end system at selected interval.
* **Frequency**: Select the time duration at which the integration wil check for updates.
| **Schedule Type** | **Frequency** | **Fields** | **Description** |
| ----------------------- | ------------- | --------------- | -------------------------------------------------------------------------------------------------------------------------------------------------------------------------------------------------------- |
| **Interval Repetition** | All | Repeat Interval | It represents the unit of interval, i.e., MINUTES, HOURS, WEEKS, DAYS, SECONDS (If you select '5' as repeat interval and 'MINUTES' as unit, then integration will check for the updates every 5 minutes) |
| **Fix scheduler** | All | Start Time | It represents the date and time from which the scheduler will start checking for updates in the end system. |
| | | End Time | It represents the date and time until the scheduler keeps checking for updates in the end system. |
| | | Time | It represents the time at which the integration needs to check for updates in end system. Maximum 5 time slots can be given. |
| | Monthly | Day | It represents the day at which the integration will check for the updates in the end system. |
| | | Week of Month | It represents the week at which the integration needs to check for the updates in the end system. |
| | Weekly | Day(s) | It represents the day(s) at which the integration needs to check for the updates. |
* Click on **"Save"**.
## Edit Schedule
* System generated schedules can't be edited
* To edit the schedule which is associated with active integration, first you need to inactivate the integration and then you can edit
* To edit a schedule, follow the steps given below:
* Click on **"Administration"**
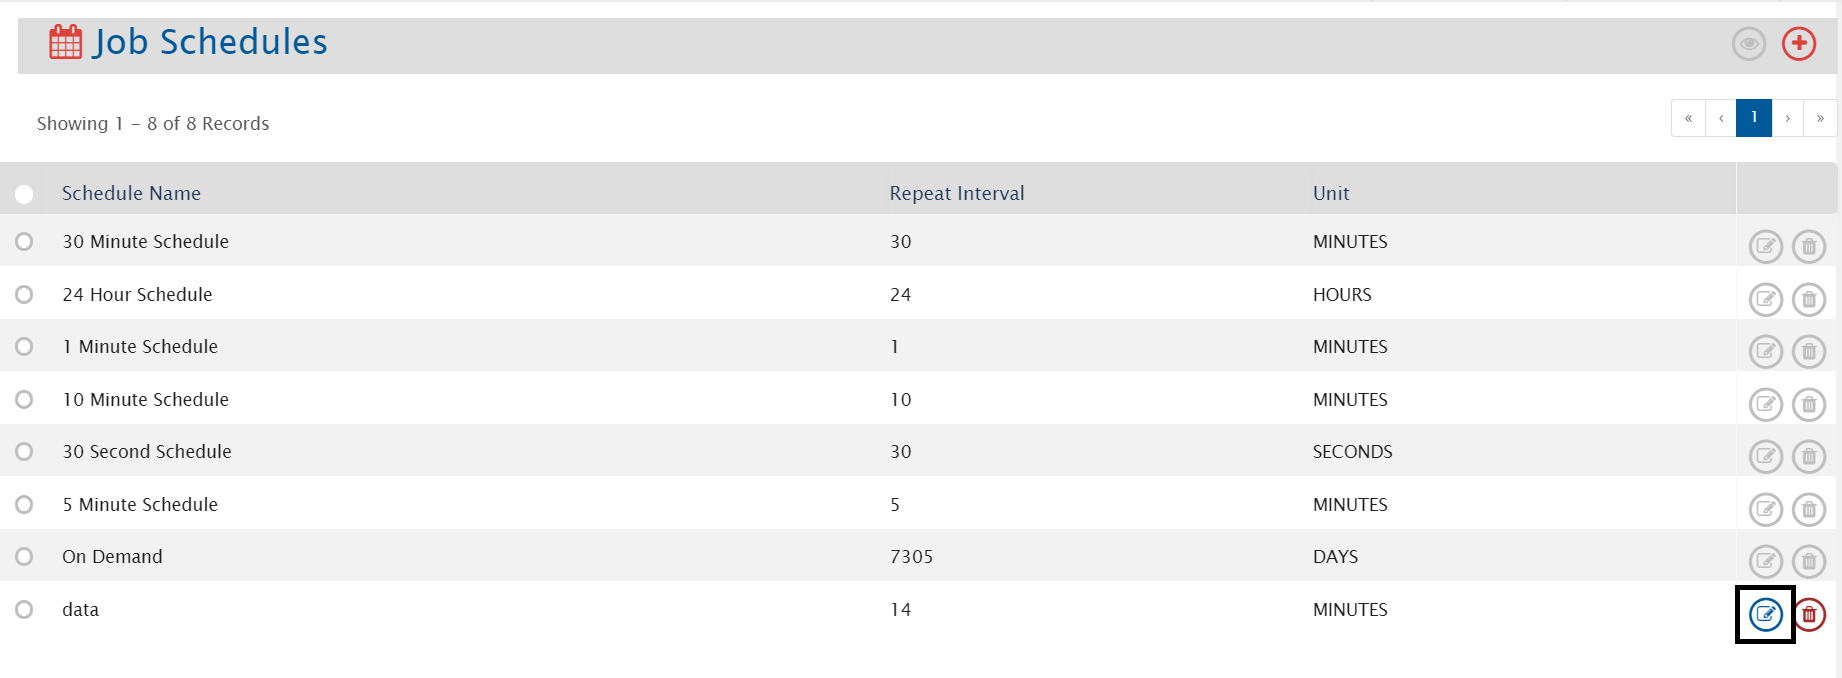
* Click on  given on the left panel. You can see the list of schedules that are already created
* To edit a schedule, click on  at the end of the corresponding schedule that you want to edit
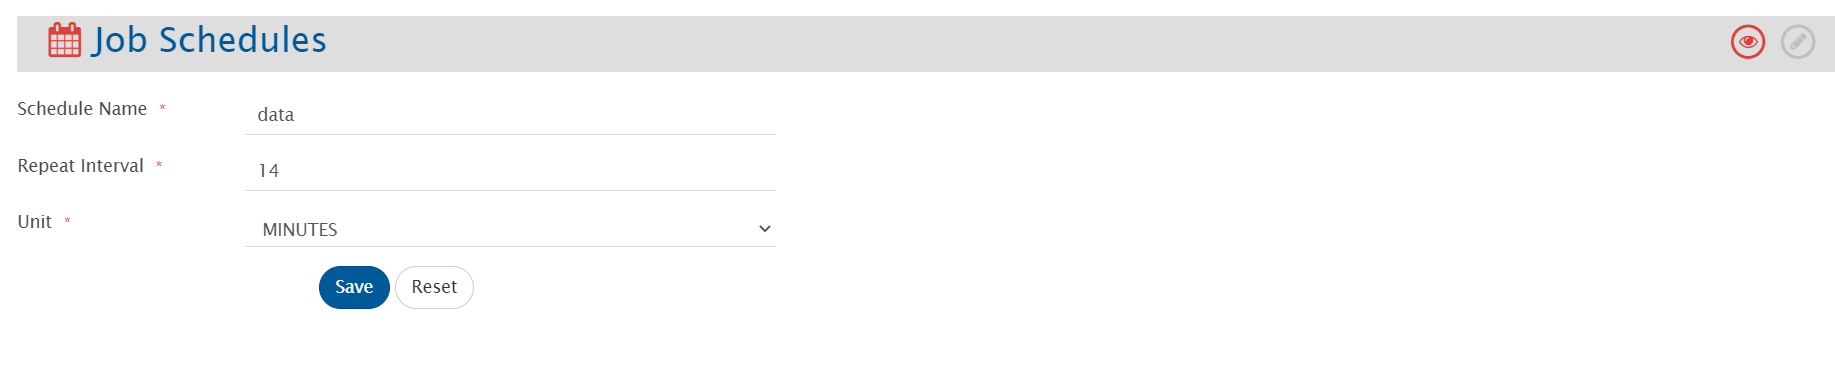
* The Edit Schedule form will open. Edit the details in the form. Refer to the image below:
* Click on **"Save"**
* Click on **"Reset"** to set the previous saved value
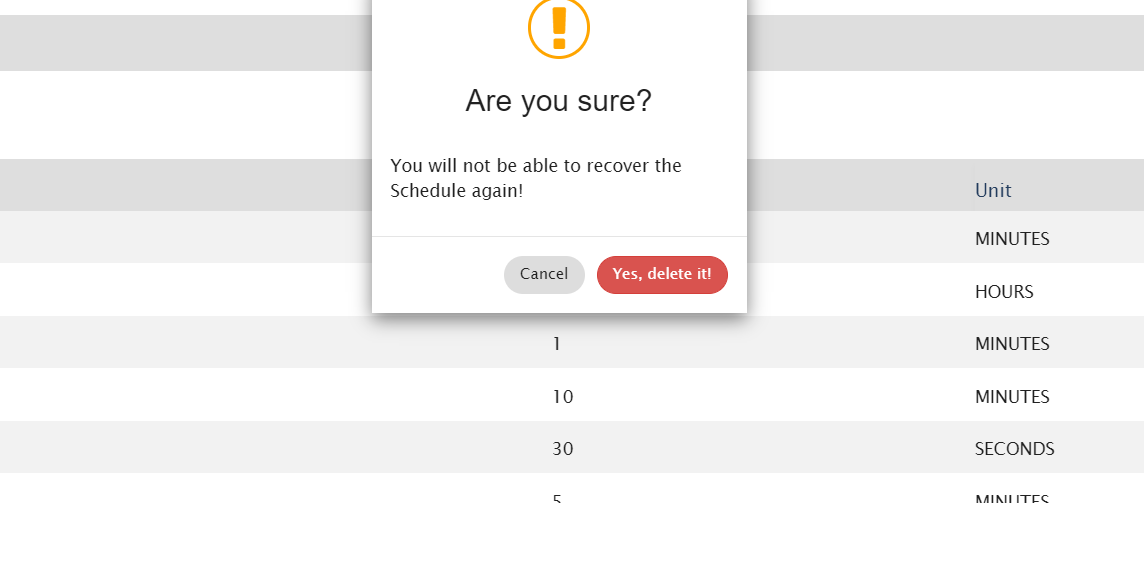
## Delete Schedule
* System generated schedules can't be deleted
* To delete the schedule which is associated with any integration, first you need to remove this schedule from the integration and then you can delete
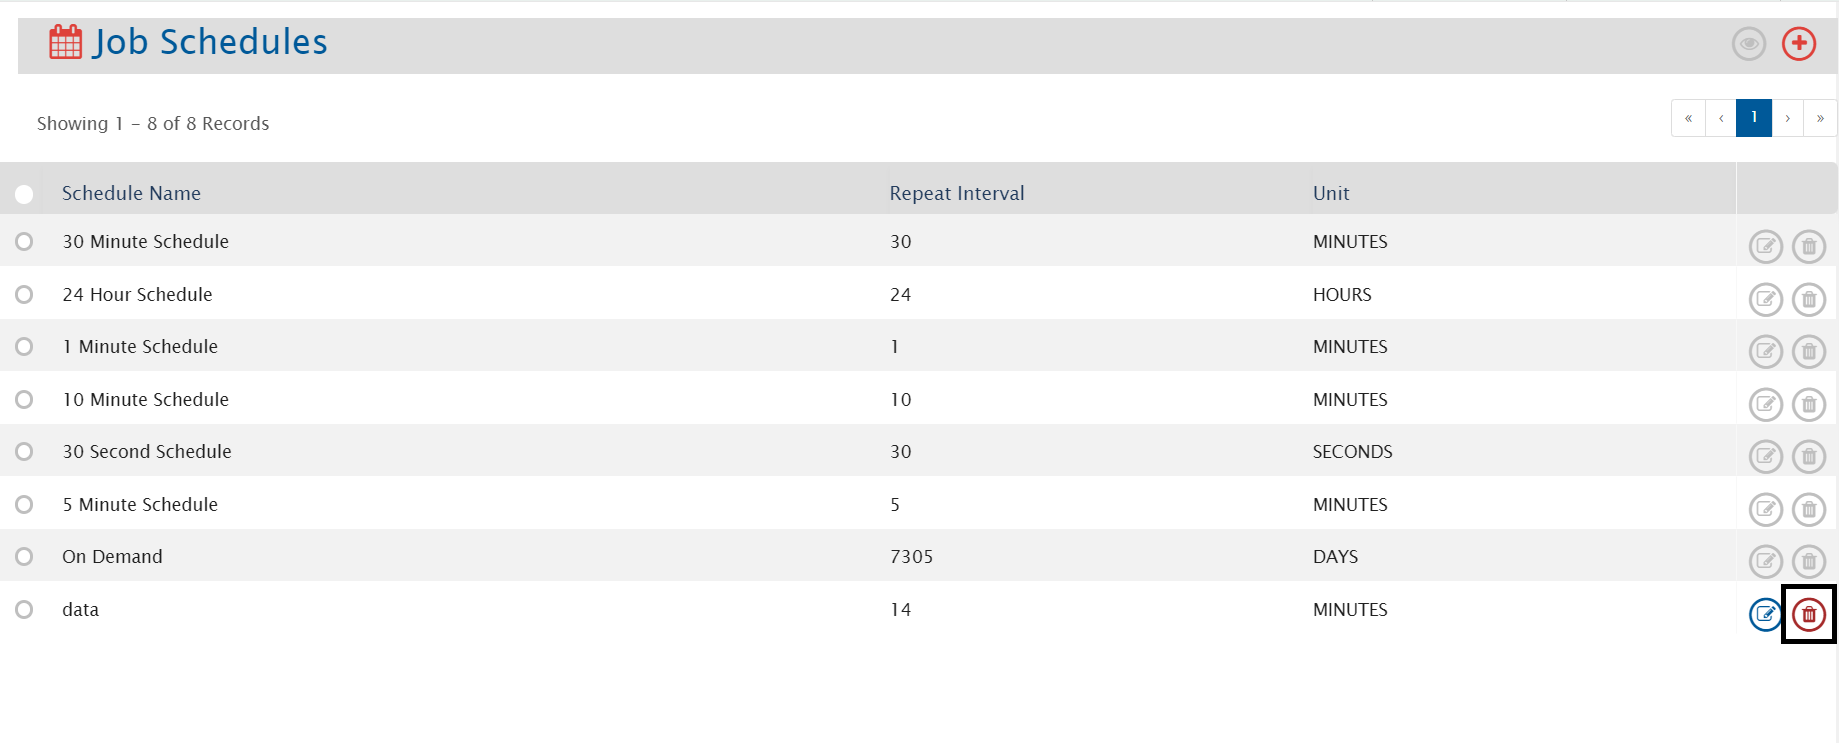
* To delete a schedule, click on  at the end of a corresponding schedule that you want to delete
* You will not be able to restore the schedule once you delete it
* Click on **"Yes, delete it"** to delete the schedule
* Click on **"Cancel"** to cancel the process
---
# Agent Instructions: Querying This Documentation
If you need additional information that is not directly available in this page, you can query the documentation dynamically by asking a question.
Perform an HTTP GET request on the current page URL with the `ask` query parameter:
```
GET https://docs.opshub.com/upcoming-release/manage/administrator/schedular.md?ask=
```
The question should be specific, self-contained, and written in natural language.
The response will contain a direct answer to the question and relevant excerpts and sources from the documentation.
Use this mechanism when the answer is not explicitly present in the current page, you need clarification or additional context, or you want to retrieve related documentation sections.